


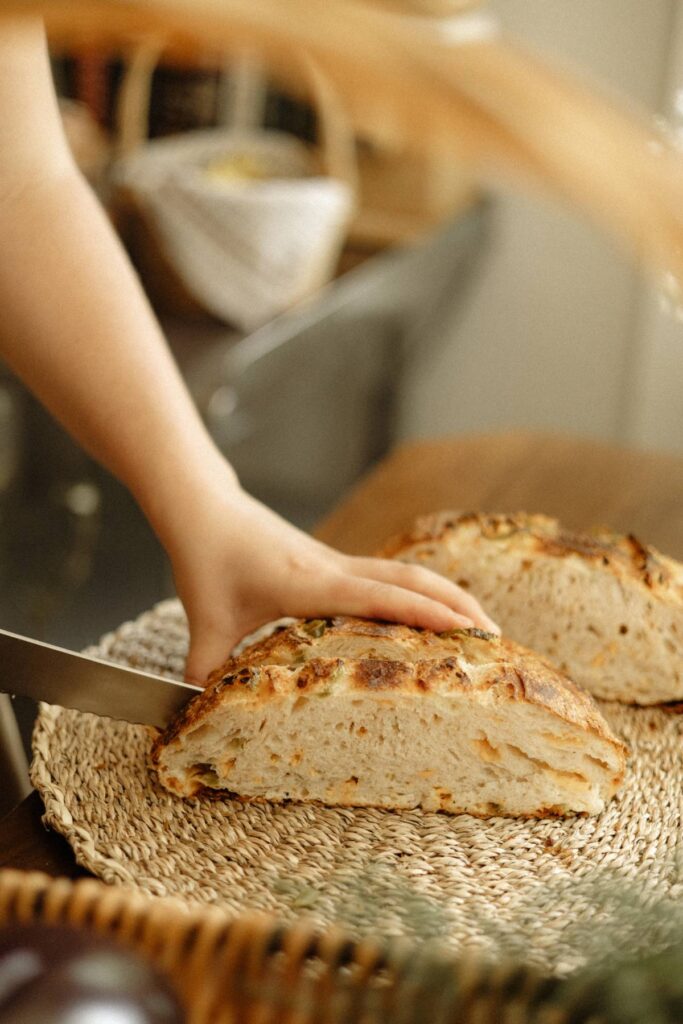
One of the very first loaves I made after I finally felt like I’d “cracked the code” on sourdough was jalapeño cheese sourdough bread. And oh my… this loaf is glorious.
Thank you for reading this post, don't forget to subscribe!There is something magical about the combination of sharp cheddar and tangy jalapeños baked into a rustic sourdough loaf. It’s especially glorious sliced thick for a toastie (grilled cheese), turned into homemade croutons, or piled high with roast beef, pickled red onions, mustard, and banana peppers for the most delectable sandwich.
The best part? You can make this recipe your own. Use fresh or pickled jalapeños, experiment with different cheeses, and don’t be afraid to have a little fun with it.
My personal favorite is a combination of sharp cheddar and pepperjack… but honestly, it’s hard to go wrong. This jalapeño cheese sourdough quickly became one of the best-selling loaves at my cottage bakery, and after one slice, it’s easy to see why.
Why You’ll Love This Jalapeño Cheese Sourdough Bread
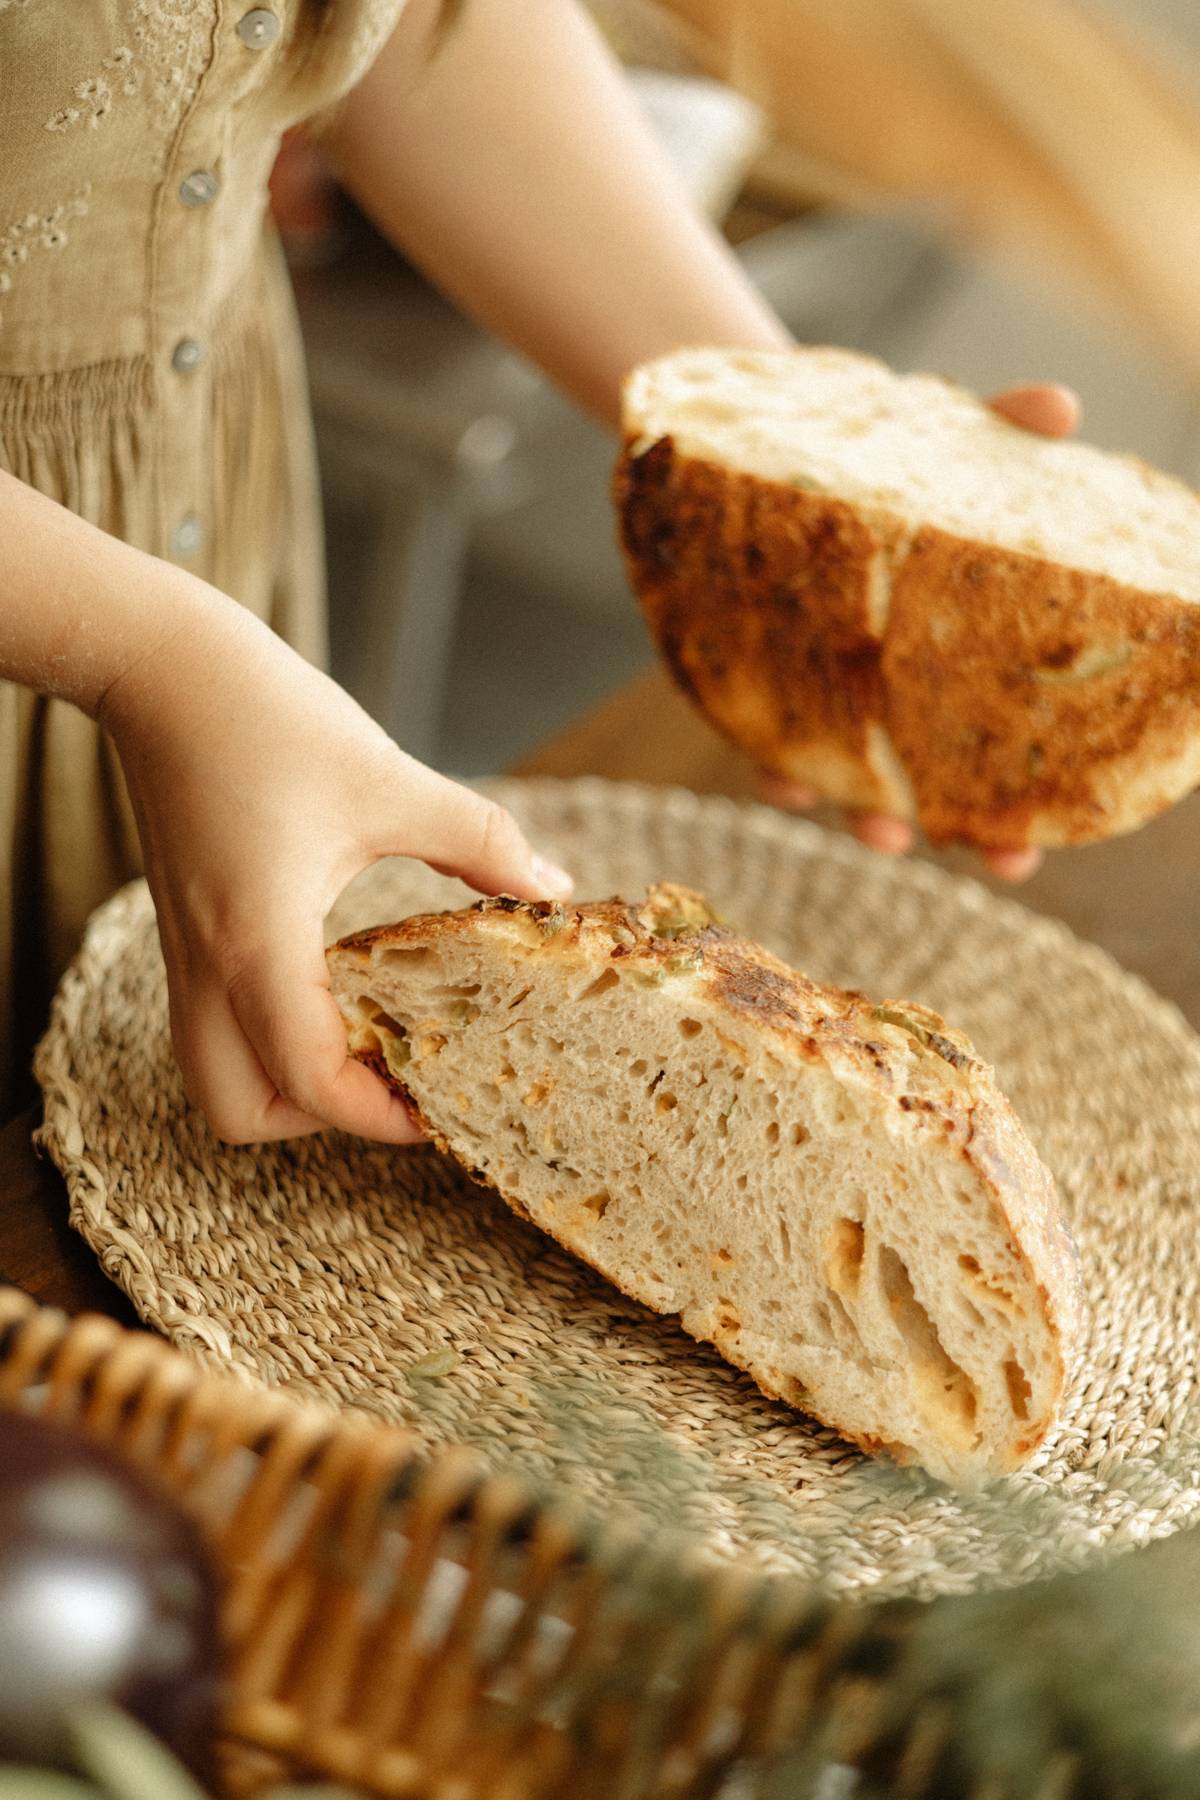
- Crisp, crackly sourdough crust
- Gooey pockets of melted cheddar
- Tangy jalapeños in every slice
- One of the best-selling loaves at my cottage bakery!
- Perfect for toasties, sandwiches, or croutons
- Easy to customize with your favorite cheeses
What You’ll Need
Gear I Use:
- Kitchen scale (accurate and budget-friendly)
- Dutch oven (mine’s 5 quarts and has held up beautifully)
- Parchment paper
- Sharp knife or lame
- Mixing bowl
- Dampened tea towel
- Proofing basket or just a mixing bowl with a curved bottom
I keep my favorite tools and pantry staples in this storefront if you want to peek!
A Few Helpful Tips Before You Begin
The magic here is in the prep!
Pat the jalapeños dry.
If you’re using pickled jalapeños, drain them really well and pat them dry with paper towels. Too much extra moisture can slow fermentation and make the dough a little sluggish. If you prefer fresh jalapeños, simply use 60 grams and slice them finely.
Shred your own cheese.
Skip the pre-shredded bags if you can. Block cheese melts much more beautifully because it isn’t coated with anti-caking agents, which prevents the cheese from melting and folding in the same way. Sharp cheddar is my favorite, but pepperjack is absolutely lovely too.
FAQs
Can I use fresh or pickled jalapeños?
Yes! Both work beautifully.
Pickled jalapeños give the loaf a tangier flavor, while fresh jalapeños add a little more heat. Just be sure to drain and pat pickled jalapeños completely dry before folding them into the dough so they don’t add excess moisture.
What cheese works best?
Sharp cheddar is my favorite because it gives the loaf plenty of flavor without overpowering the sourdough. Pepperjack is another lovely option if you’d like a little extra spice.
As always, shred your cheese from a block rather than buying pre-shredded. It melts much more beautifully throughout the loaf.
What’s the best way to serve jalapeño cheese sourdough?
Honestly… warm with salted butter is hard to beat. 😍 But this loaf also makes the most glorious grilled cheese (or toastie!), incredible croutons, and hearty sandwiches piled high with roast beef, mustard, pickled onions, and banana peppers.
Can I freeze jalapeño cheese sourdough bread?
Yes! Once the loaf has cooled completely, slice it (or leave it whole), wrap it tightly, and freeze for up to 3 months. I love freezing individual slices so I can pop them straight into the toaster whenever the craving strikes.
How to Make Jalapeño Cheese Sourdough Bread (Quick Overview)
- Mix the sourdough dough and let it rest for 30 minutes.
- Fold in the shredded cheddar and jalapeños during your first stretch and fold.
- Complete two more rounds of stretch and folds.
- Bulk ferment until the dough is soft, airy, and beautifully risen.
- Pre-shape into a round, then let the dough rest.
- Shape the dough, tucking any exposed cheese and jalapeños inside.
- Let it rise at room temperature or cold proof in the refrigerator.
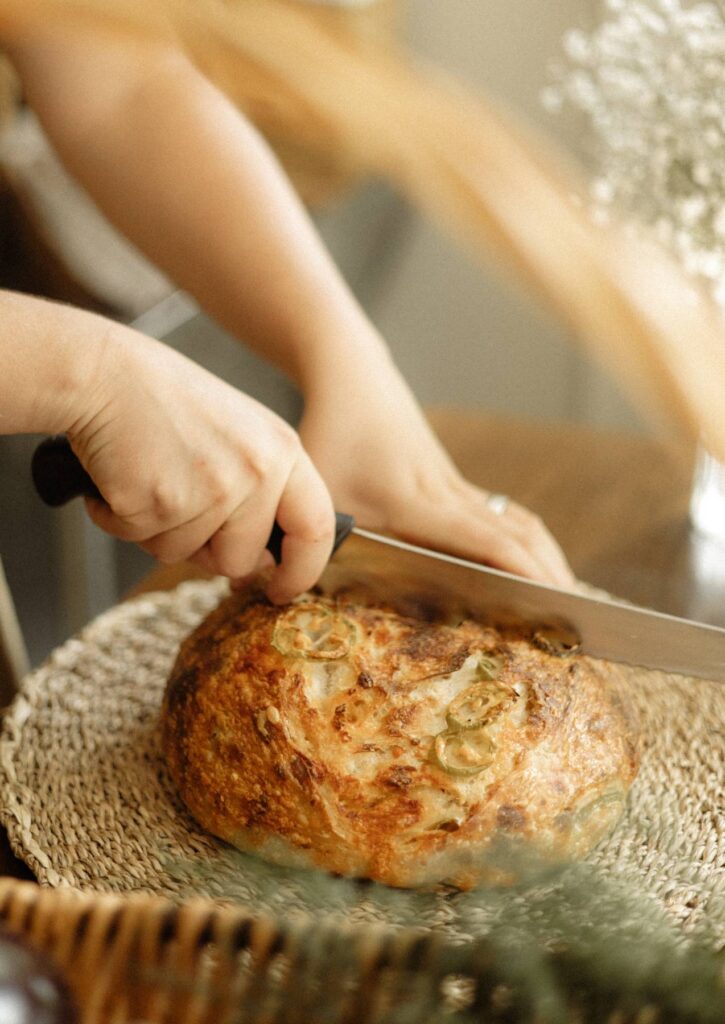
- Score and bake in a preheated Dutch oven until deeply golden.
- Cool completely before slicing, then enjoy warm with butter, toasted into a grilled cheese, or piled high into your favorite sandwich.
Jalapeño Cheese Sourdough Bread Recipe
Rate this RecipeIngredients
- 50 grams bubbly active sourdough starter
- 350 grams warm filtered water
- 450 grams bread flour
- 50 grams whole wheat flour I use spelt
- 10 grams fine sea salt
- 60 grams pickled jalapeños drained and patted completely dry
- 120 grams sharp cheddar cheese shredded from a block (not pre-shredded)
- Optional: 3 fresh jalapeños finely sliced
- Alternative cheese: pepperjack
Method
- Mix the Dough. Stir together your starter and water until it looks milky. Add both flours and the salt. Mix until everything is fully combined and no dry flour remains. Really make sure there's nothing dry hiding at the bottom of the bowl. The dough will feel sticky, but that's exactly right. Cover and let rest for 30 minutes. While it rests, feed your starter.
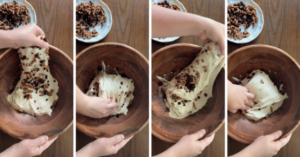
- Add the Jalapeños & Cheese (First Stretch & Fold). After the dough has rested, sprinkle about a third of the jalapeños and cheese over the top. Wet your hands, gently lift one side of the dough up and fold it over to tuck them in. Add another third and fold again, then the last third and keep folding, rotating the bowl as you go, until you've made it all the way around. Everything gets tucked through the dough without tearing it. Cover and rest 30 minutes.*Example of adding inclusions to the dough
- Second & Third Stretch & Folds. Two more rounds of folds, about 30 minutes apart. These strengthen the dough and finish spreading the inclusions evenly through it. The dough will feel a little lumpy and bumpy now, that's exactly what you want. After the third round, cover the bowl and move into bulk fermentation.
- Bulk Ferment. If prepping in the evening, let the dough rise overnight, covered at room temperature, until it's soft, airy, lighter to the touch, and no longer sticky. It will also have a domed top. At 70°F, this usually takes 8 to 10 hours depending on the warmth of your kitchen. Prefer a daytime schedule? This works just as well flipped. Mix the dough in the morning, do your folds before lunch, and let it bulk through the day. Shape in the evening, then either bake that night or pop it in the fridge and bake the next morning. One heads up: kitchens usually run warmer during the day, so bulk can finish faster, sometimes closer to 6 to 8 hours. Watch the dough, not the clock!
- Pre-Shape (Morning). Gently coax the dough onto a lightly floured surface. Fold it in toward the center a few times to create a round, then flip it over and let it rest for 20 to 30 minutes, uncovered, so the gluten can relax. In the meantime, line your proofing basket or a mixing bowl with a towel and dust it with flour.
- Final Shaping. Flip the dough so the seam faces up. Take two opposite sides, lift and clasp them over each other in the center, then rotate the dough 90° and clasp the other two sides the same way (this technique is called the Caddy Clasp). Before the dough goes into the basket, tuck any jalapeños or cheese sitting on the surface back inside. Exposed bits will brown too quickly in the oven, so it's worth taking a few seconds to poke them in. Then place the dough seam-side up into your floured proofing basket.
- Second Rise. Let the dough rise for 1 to 2 hours at room temperature, or transfer it to the fridge for a cold proof. I usually choose the fridge… the dough is easier to score when cold, and you can bake anytime within the next 2 days, straight from the fridge.
- Score & Bake. Preheat your oven to 450°F with your Dutch oven inside for at least 30 minutes. Cut a piece of parchment to fit and gently invert the dough onto it. Dust the top with flour and score with a bread lame or sharp knife, then use the parchment like a sling to lower the dough into the Dutch oven. Bake for 20 minutes covered, then 25 to 30 minutes uncovered, until the crust is deeply golden. Transfer to a wire rack and let it cool for at least an hour before slicing. I know it's hard to wait, but it's worth it!


It’s delicious and perfect amount of cheese and jalapeno
so glad you loved it!