


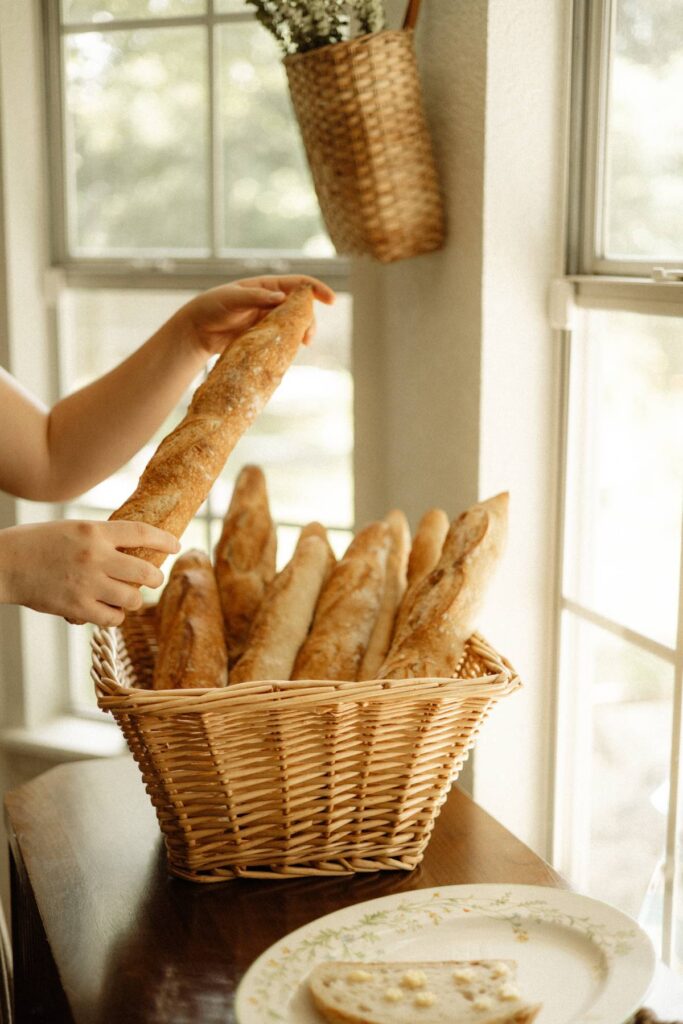
If sourdough baguettes feel intimidating, I promise you, they are more achievable than you think.
Thank you for reading this post, don't forget to subscribe!In 2019, I visited France for the very first time. I wandered through the streets of Nice, and while everyone talks about the beautiful coastline and colorful buildings, the thing that completely stopped me in my tracks was a bakery window filled with rustic French baguettes. There was something so simple and beautiful about them that I couldn’t stop staring.
At the time, I never imagined I’d one day learn how to make sourdough, let alone bake homemade sourdough baguettes in my own kitchen.
Well, fast-forward a few years, and I learned to bake sourdough. And you know how it goes, once you learn sourdough, you think… well, what else can I make?! Eventually I had the desire to make a beautiful rustic baguette, just like the one I saw in France on that beautiful afternoon… but for some reason I was incredibly intimidated. Actually, I know why I was intimidated. Some bakers I knew said baguettes are their nemesis.
But I’m here to tell you if you can make sourdough, you can make sourdough baguettes.
Baguettes literally mean long skinny bread. So don’t overthink it! If they come out a little wonky, who cares? There’s nothing like pulling them out fresh from the oven… the shattering crust, the irregular crumb riddled with those beautiful random holes, the subtle sour tang that gives incredible depth of flavor. Oh my… Let’s make some baguettes!

Why You’ll Love These Sourdough Baguettes
- Crisp, crackly crust
- Light, airy crumb
- Beginner-friendly shaping tutorial included
- Mostly hands-off fermentation
- Uses simple pantry ingredients
- Beautiful enough to rival a French bakery
These homemade sourdough baguettes have a crisp, deeply golden crust, an airy open crumb, and that subtle sourdough flavor that makes every slice worth the wait. While they take about two days from start to finish, most of that time is completely hands-off, making them a wonderful weekend baking project.
Can beginners make sourdough baguettes?
Yes! If you can make a basic sourdough loaf, you can make sourdough baguettes. The dough is straightforward — the only real learning curve is the shaping, and that gets easier every single time.
How long do sourdough baguettes take?
About 48 hours total, but almost all of it is hands-off. Active time is around 30 minutes. The overnight cold proof is what gives these baguettes that deep flavor and beautiful crust.
What flour is best for sourdough baguettes?
Bread flour gives you the best structure and chew. I also add a little whole wheat or spelt for extra flavor — it makes a big difference without weighing the dough down.
How do I shape sourdough baguettes?
Shaping is the part that intimidates most people, but it’s much simpler than it looks. I’ve filmed a quick shaping tutorial that walks you through exactly how I shape each baguette from start to finish.
Why aren’t my sourdough baguettes getting ears?
Two reasons: scoring depth and oven heat. Score confidently at 45 degrees, at least a quarter inch deep. And make sure your oven is fully preheated to 500°F before the baguettes go in.
Do I need special equipment for sourdough baguettes?
A bench scraper, a bread lame, and a baking pan are the essentials. A baguette couche and flipping board make shaping much easier if you plan to make these regularly. I’ve put together a curated list of baguette essentials with my favourite tools if you want to peek.
How should I store sourdough baguettes?
Fresh baguettes are best enjoyed the day they’re baked, but leftovers can be stored in a paper bag or loosely wrapped at room temperature for up to two days. To bring back that crisp crust, pop them into a 350°F oven for 5-10 minutes before serving.
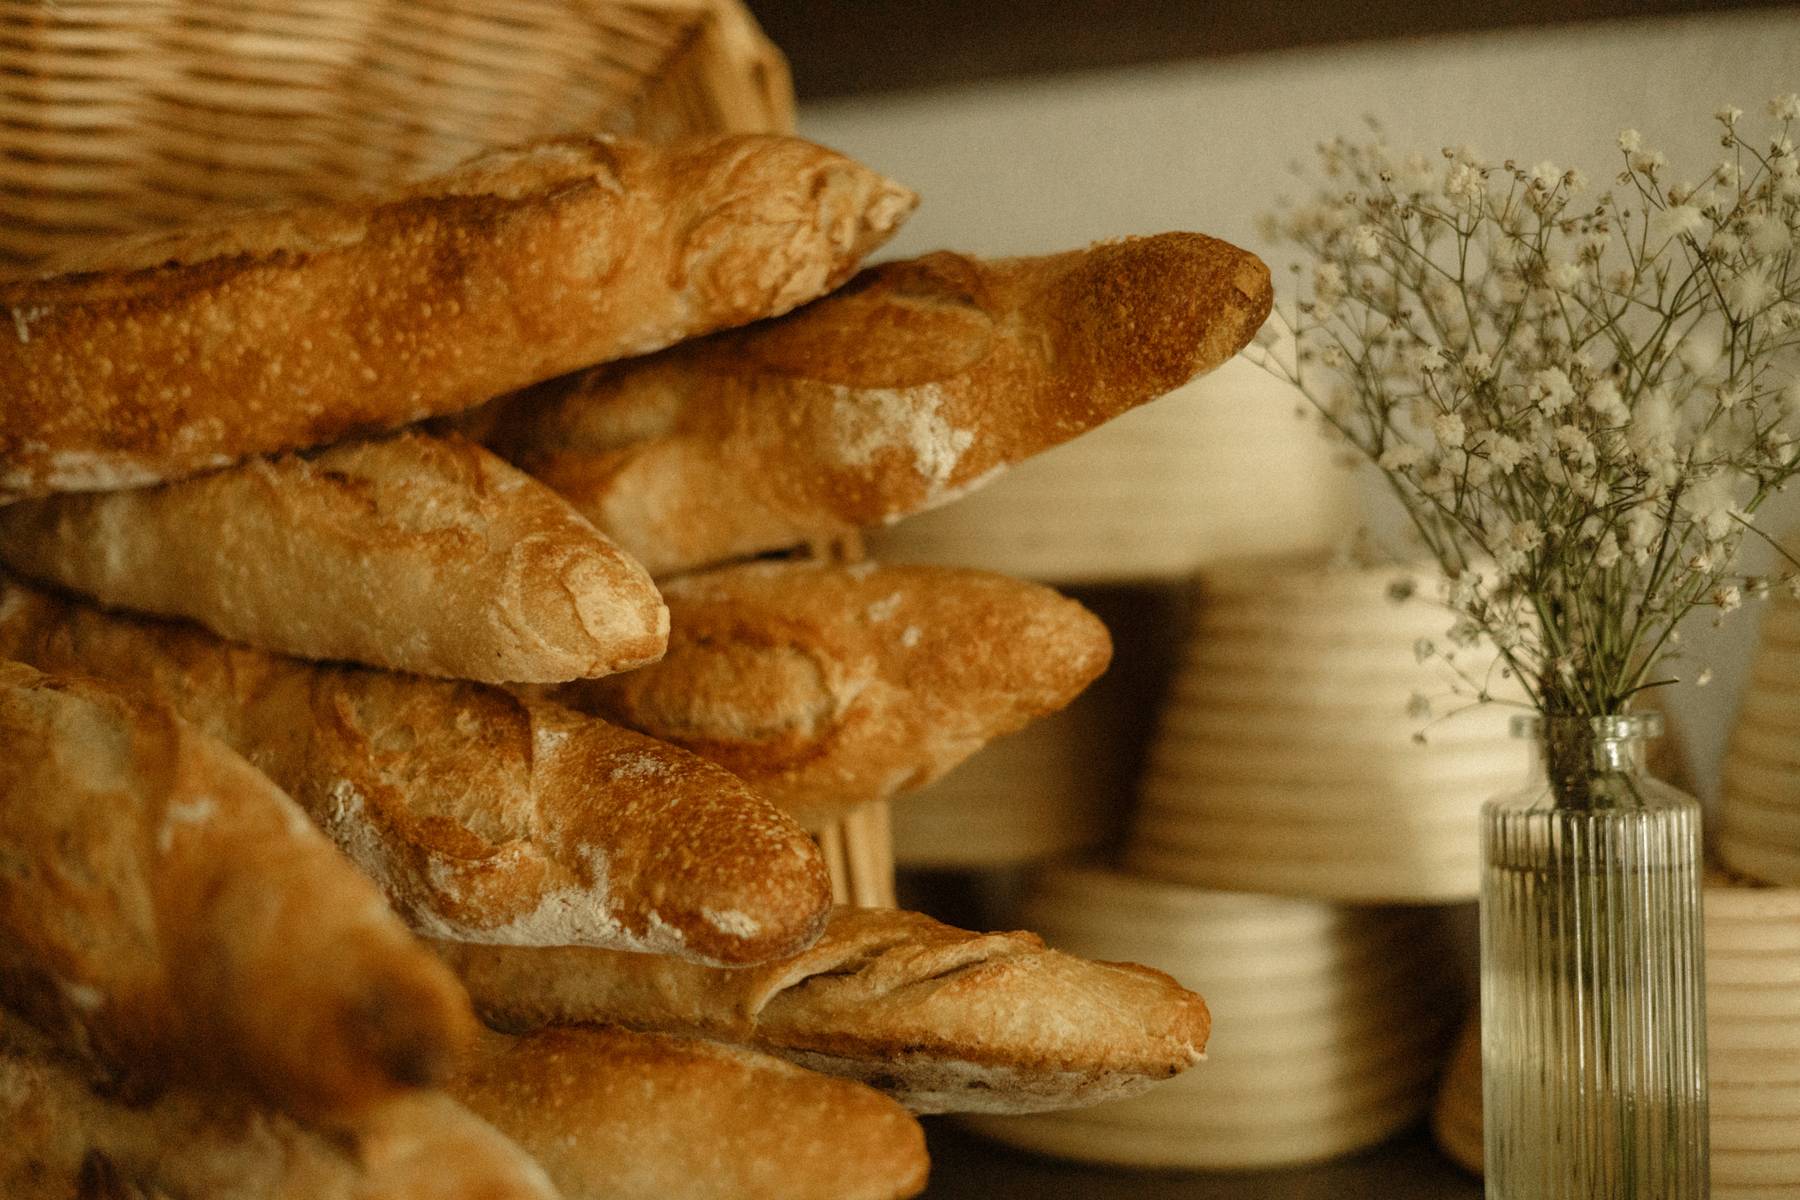
Homemade Sourdough Baguettes with a Crispy Crust
Rate this RecipeIngredients
- 100 g bubbly active sourdough starter
- 365 g warm filtered water
- 450 g bread flour
- 50 g whole wheat flour I love using spelt, but any whole wheat is fine
- 10 g fine sea salt
- Extra flour for dusting
- Parchment paper
Equipment
- Bench scraper or dough scraper
- Baking pan or sheet (for the pre-shaped dough)
- Bread lame or sharp serrated knife https://rivr.link/111-vj77l7
- Water spray bottle
- Baguette couche for proofing (floured towels or parchment also work here)
- Baguette flipping board for transferring to the oven (floured towels or parchment work too, but if you'll be making baguettes regularly, the couche and board are a good investment!)
- Instant-read thermometer https://rivr.link/111-thermometer (optional but helpful)
- I've put together a curated list of baguette essentials with my favourite tools if you want to peek. https://rivr.link/111-yPIWsL
Method
- Day One: Mix & Bulk FermentMix the dough. Stir your active starter and warm water together in a large bowl until the starter is mostly dissolved and the water looks milky. Add both flours and the salt. Mix thoroughly until no dry flour remains, making sure to check the bottom of the bowl. The dough will be sticky and shaggy, and that's exactly right. Cover with a damp towel and let it rest for 20-30 minutes.
- First stretch & fold. After the rest, wet your hands and gently lift one side of the dough, stretch it up, and fold it over the center. Rotate the bowl 90 degrees and repeat. Keep going around the bowl until you've folded all four "sides." This builds strength without aggressive kneading. Cover and rest for 20-30 minutes.
- Second stretch & fold. Repeat the process. Wet hands, lift and fold all the way around. Cover and rest for 20-30 minutes.
- Third stretch & fold. One more time. After this final fold, cover the dough and move into bulk fermentation.
- Bulk fermentation. Cover your dough and let it rise at room temperature (ideally 68-72°F) until it's noticeably puffed, airy, lighter to the touch, and has increased by about 50%. It should look soft and domed on top, but not explosively inflated. At 70°F, this usually takes 6-8 hours. If your kitchen is cooler, give it more time. You're watching the dough, not watching the clock. Once it looks ready, you're moving to pre-shape!
- Pre-shape. Gently turn the dough onto a lightly floured work surface. Using a bench scraper, divide it into three equal pieces (about 325g each). Shape each piece into a loose oval by folding the dough in toward the center from all sides, then flip seam-side down. Place them on a pan and head straight to the cold proof. If you're covering with cling wrap, lightly oil the top of the dough to prevent sticking.
- Cold proof. Cover with plastic wrap and transfer to the fridge to cold proof overnight.
- Day Two: Final Shape & BakeFinal shape into baguettes. Remove the pre-shaped ovals from the fridge. Take the first oval and lightly flour the smooth side. Flip it smooth-side down onto your work surface. Shape it into a long, skinny baguette by taking one side and pinching it into the other side. Repeat this three times, alternating sides each time. This creates that beautiful tension. Crimp and seal it closed, making sure it's nice and tight. Flour it lightly so it doesn't stick, then roll it out quickly without adding too much pressure. Place it seam-side up in your baguette couche or on a floured proofing surface. Repeat with the second and third ovals. Let them rest for 1 hour before baking.
- Preheat. About 1 hour before baking, preheat your oven to 500°F (260°C).
- Score & spray. Lightly dust the top of each baguette with flour. Using your bread lame or a very sharp knife, score each baguette with 3-5 confident, overlapping slashes down the length, all angled at roughly 45 degrees. Aim for about a quarter-inch deep on each slash. Space them so they slightly overlap. That's where you get those gorgeous pointed ears. This is that authentic French bakery look. Spray the top of each baguette lightly with water.
- Bake with steam. Transfer the baguettes to the oven on your baking pan. Quickly place 4-8 ice cubes at the bottom of the oven, then immediately lower the oven temperature to 420°F (215°C). Bake for 12 minutes. The lower temperature allows the bread to fully rise without the scored seam sealing too early. After 12 minutes, open the oven door for 5 seconds to release the steam, then raise the temperature back to 500°F (260°C) and bake for another 12-15 minutes, until the crust is deeply golden and crisp and the baguettes sound hollow when tapped on the bottom.
- Cool. Transfer to a wire rack and let cool for at least 30 minutes before slicing. I know it's torture, but cutting into warm bread will mess with the crumb structure. Wait at least 30 minutes. Be strong!
Notes
- Colour and ear development: If your baguettes aren’t getting that beautiful golden-brown colour or the ear isn’t forming, your oven might not be hot enough, or the scoring isn’t deep enough. Go deeper and hotter next time.
- Scoring confidence: Your score is everything. A hesitant half-inch score gives you a half-inch ear. A confident quarter-inch score (or deeper) gives you that dramatic ear curl. Commit to the cut! 🙂
- Timeline: Feed your starter early morning → mix dough mid-morning → bulk ferment all day (6-8 hours) → pre-shape late afternoon → cold proof overnight → final shape and bake the next morning. Or, if you’re splitting it: feed starter in the morning → mix dough around lunch → bulk ferment through the evening → pre-shape that night → cold proof overnight → bake the next day whenever you’re ready.


