


When I was 16, I visited Melbourne, Australia for the first time, and oh my… I LOVE that city. It’s still one of my favourites in Australia. The art, the music, the fashion… and THE FOOD.
Thank you for reading this post, don't forget to subscribe!It was there that I had one of the most beautiful cheeseburgers I’d ever eaten. Now, Australian burgers often come loaded with pickled beetroot, pineapple, and eggs (hey, don’t mock it till you try it), but this one was different… two thin patties, American cheese, magical sauce, onions, and the softest brioche-style burger bun.
Come to find out, after moving to America, the burger I’d fallen in love with in Melbourne was… an American-style burger. 👁️👄👁️ And as it turns out, I LOVE AMERICAN BURGERS.
So naturally, I eventually needed to make my own version at home – with a beautifully soft homemade bun and ingredients I actually feel good about feeding my family. And bonus: no spending $40 every time we all want burgers!
These soft sourdough hamburger buns are made with active sourdough starter and a little instant yeast, which means you get that lovely sourdough flavour without waiting all day (and night!) for your buns to rise. They’re soft, golden, slightly sweet, and brushed with salted butter straight from the oven.
The dough is actually the same base I use for my same-day sourdough hot dog buns, but we’re changing up the shaping to create the perfect soft hamburger bun.
Let’s make burgers!
Why You’ll Love These Sourdough Hamburger Buns
- Soft, fluffy, brioche-style texture
- Same-day recipe!
- Made with sourdough starter or discard
- A little instant yeast keeps the rise quick and reliable
- Buttery, golden tops
- Perfect for burgers, sandwiches, pulled beef, and more
What You’ll Need
- Stand mixer with dough hook (optional, but highly recommended!)
- Full sheet pan
- Kitchen scale
- Rolling pin (optional)
- Parchment paper
- Pastry brush
I keep my favorite tools and pantry staples in this storefront if you want to peek!
A Few Helpful Tips Before You Begin
Don’t rush the final proof.
This is the big one! Let those buns get beautifully light and puffy before baking. Underproofed hamburger buns can come out dense and dry, so watch the dough rather than the clock.
Flatten them before the final proof.
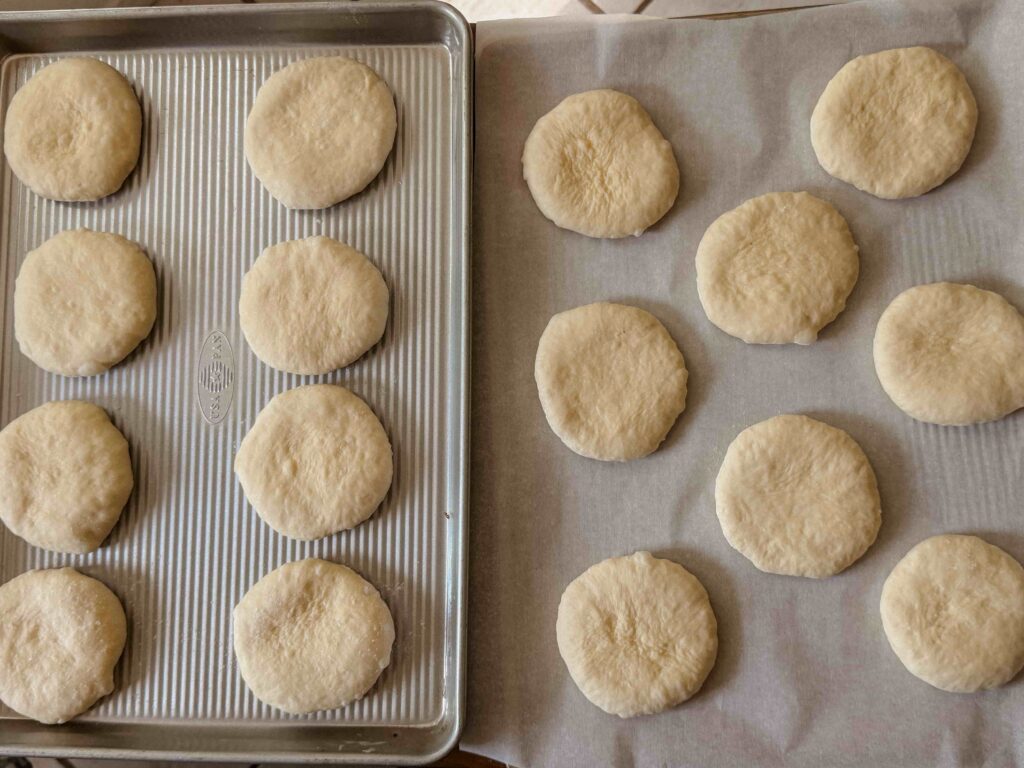
If you leave your dough balls perfectly round, they’ll rise into tall dinner-roll shapes rather than wide hamburger buns. Gently flatten each one into a thick 3-inch disc before that final rise.
Brush them with butter while they’re hot.
As soon as the buns come out of the oven, brush them generously with salted butter and finish with a little flaky salt. Oh my. Don’t skip this bit. 😍
Sourdough Hamburger Buns FAQs
Can I use sourdough discard for hamburger buns?
Yes! Because we’re using instant yeast to help these buns rise, either bubbly active starter or sourdough discard works beautifully. It’s a lovely way to use up some discard while still making soft, fluffy hamburger buns the same day.
Can I make sourdough hamburger buns without yeast?
Absolutely! Simply leave out the instant yeast and make sure your sourdough starter is very active and bubbly before you begin.
Just keep in mind that the timeline will be much longer. Plan on roughly 5–6 hours for bulk fermentation and another 2–4 hours for the final proof, depending on the temperature of your kitchen.
Can I make these sourdough hamburger buns ahead of time?
Yes! Shape the buns a little earlier in the bulk proof, arrange them on your lined pan, lightly oil the tops, cover, and refrigerate overnight. They’ll continue to slowly proof in the fridge, and you can egg wash and bake them straight from cold the next morning.
Can I freeze homemade hamburger buns?
Absolutely. Let them cool completely, slice them in half, and freeze for up to 2 months. Then you can pull out exactly what you need whenever burger night calls!
Why are my homemade hamburger buns dense?
The most likely culprit is underproofing, especially during the final rise. Your shaped buns should look noticeably light and puffy before they go into the oven. Give them more time if they aren’t there yet!
Can I make these with only instant yeast (no sourdough)?
Yes! Replace the 240g of starter with 120g of extra flour and 120g of extra water, and bump the yeast up to 12g. Everything else stays the same. Your bulk proof will be shorter, around 45-60 minutes, and your final proof about 1-1.5 hours.
Can I make these with only sourdough (no instant yeast)?
Yes, just leave the instant yeast out entirely. Make sure your starter is very active and bubbly before you begin by feeding it 12-18hrs prior. The timeline is much longer though. Bulk proof will be around 6-8 hours at room temperature, and the final proof another 4-ish hours. It’s possible to do same-day but it’s a long day, so it’s easier to bulk overnight in the fridge and shape and proof the next morning
How to Make Same-Day Sourdough Hamburger Buns
Here’s a quick overview before we dive into the full recipe:
- Mix the dough ingredients until combined.
- Knead, then gradually add the softened butter.
- Let the dough bulk proof until nearly doubled.
- Divide into 16 equal pieces and shape into smooth balls.
- Rest briefly, then flatten each into a thick disc.
- Let the buns proof until wonderfully light and puffy.
- Brush with egg wash, add your favourite toppings, and bake until golden.
- Brush the warm buns generously with salted butter and finish with flaky sea salt.
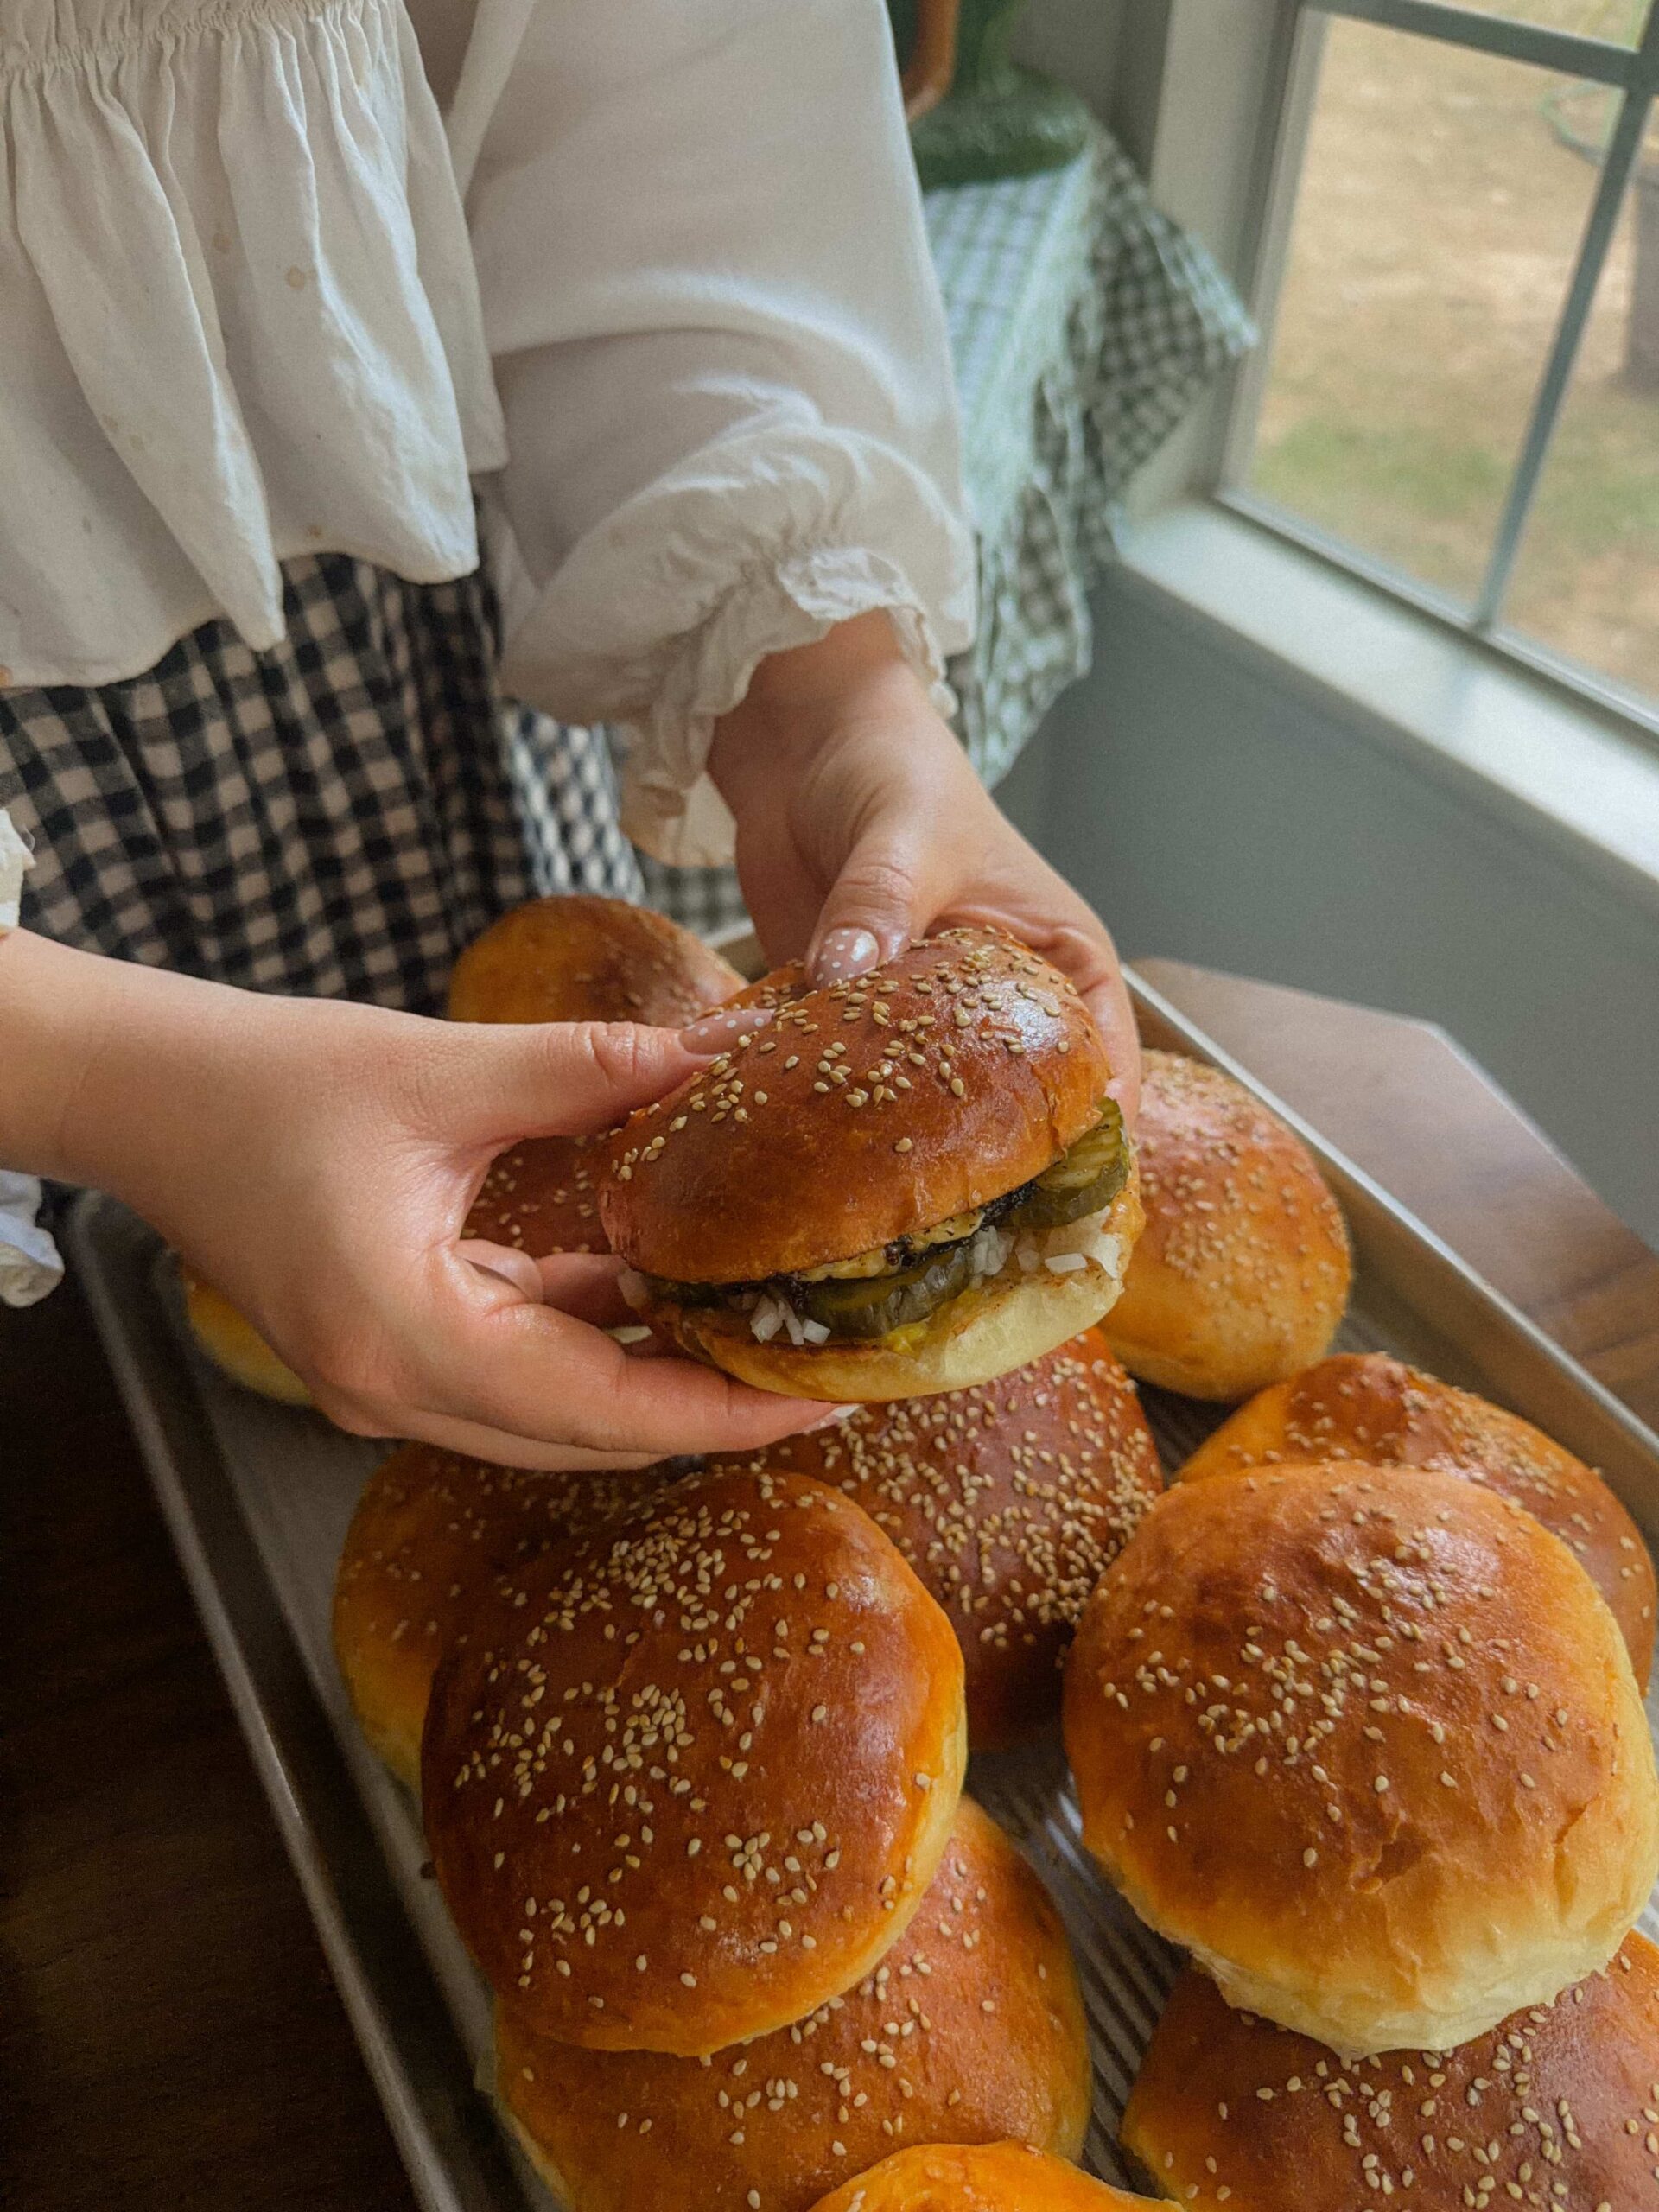
Soft Sourdough Hamburger Buns (Same-Day)
Rate this RecipeIngredients
- 720 g bread flour about 5¾ cups; I recommend using a kitchen scale to measure in grams
- 320 g warm water about 1⅓ cups
- 240 g bubbly active sourdough starter (about 1 cup); see notes for no sourdough option
- 10 g instant yeast about 2 tsp (see notes for 100% sourdough option)
- 2 large eggs
- 100 g granulated sugar about ½ cup or honey, see notes
- 70 g butter softened (about 5 tbsp)
- 16 g fine salt about 1 tbsp
- 1 egg
- 1 tbsp cream
- 2 tbsp salted butter melted
- Sesame seeds poppy seeds, or flaky sea salt for sprinkling (optional)
- 1 to 2 pinches flaky sea salt for the butter wash
Equipment
- Stand mixer with dough hook (optional but recommended)
- full sheet pan
- Kitchen scale
- optional: rolling pin
Method
- Mix. Combine the flour, water, starter, yeast, eggs, sugar, and salt in the bowl of your stand mixer. Mix on low until the flour is absorbed, then knead on medium-high for 8 minutes until the dough is smooth.
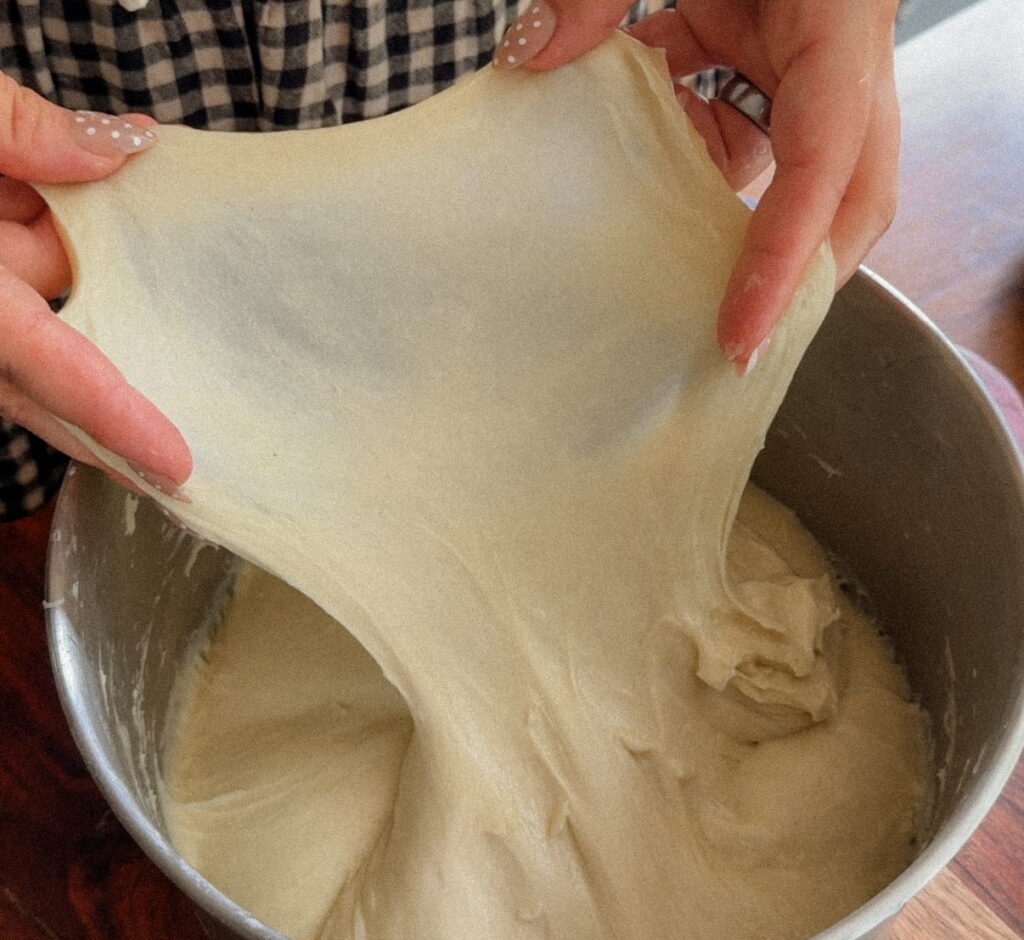
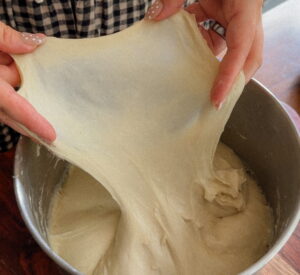
- Add butter. With the mixer still running, add the softened butter a little at a time. Knead for another 8 minutes until the dough is smooth, strong, and shiny and passes the windowpane test. Shape into a ball in the bowl and cover.
- Bulk proof. Let rise at room temperature until nearly doubled, about 2 hours.
- Divide and shape into balls. Gently deflate the dough and divide into 16 equal pieces, about 94 to 95g each. Cup each piece in your hands and gently drag the dough towards you to tighten the outer layer and create a smooth, round dough ball. Let rest for 10 minutes to relax the gluten.
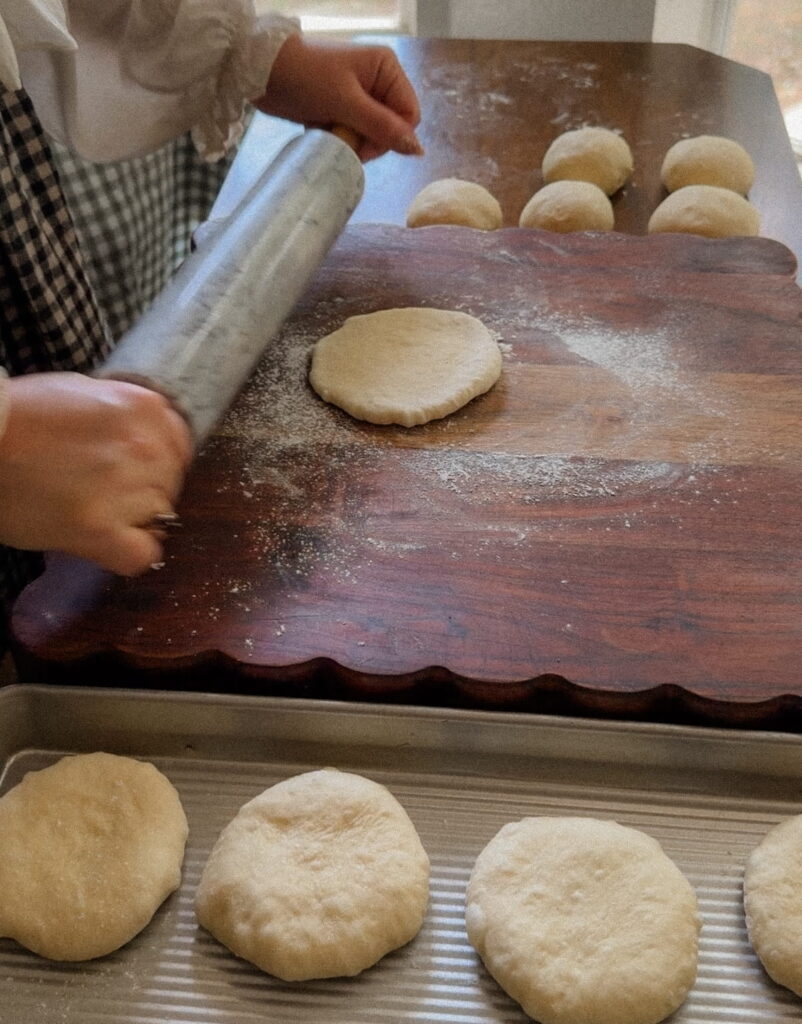
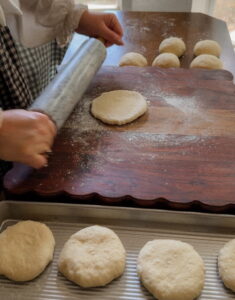
- Flatten. Work on a clean surface, only adding a sprinkle of flour if needed. Gently flatten each ball with your fingertips or a rolling pin into a thick disc about 3 inches across. The goal is a gentle, even thickness, not paper-thin.
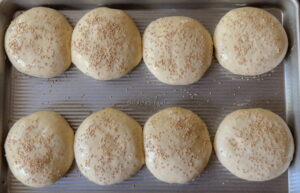
- Final proof. Arrange the buns on parchment-lined sheet pans without the sides touching (they should fit in roughly a 4 by 4 arrangement). Lightly oil the tops of the buns and cover loosely with cling wrap or a damp clean tea towel so the tops don't dry out (the oil is to help it not stick to the cling wrap). Proof until light and puffy, about 1 to 2.5 hours. This is the most important proof, so don't rush it. Underproofed buns will be dense and dry. Toward the end, preheat your oven to 375°F (190°C).
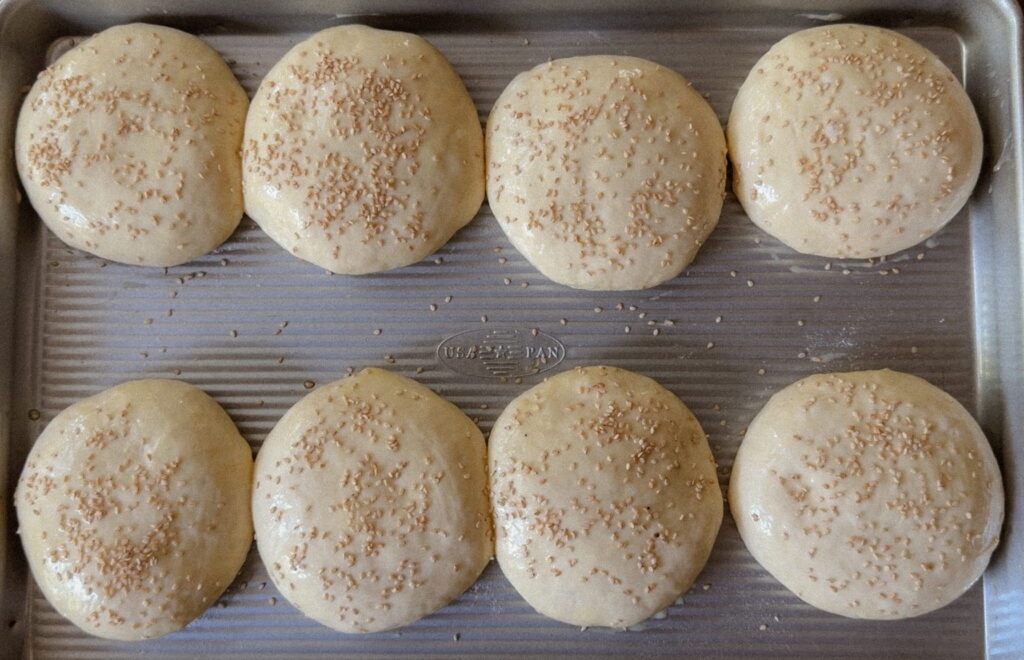
- Egg wash and bake. Mix the egg and cream and brush over the buns. Sprinkle with sesame seeds or your preferred topping if using. Bake for 16 to 20 minutes until internal temperature reaches 190°F (88°C). They should feel light when you pick one up, and the bottoms should sound hollow when tapped.
- Butter wash. The moment they come out of the oven, brush generously with the melted salted butter and sprinkle some flaky sea salt all over the buns. Rest on the pan for 20 minutes before serving.
Notes
- Honey instead of sugar? You can swap the sugar for the same amount of honey. Since honey adds a little extra moisture, reduce the water by about 15 to 20g to compensate, though in an enriched dough like this the difference is pretty minor.
- Starter or discard? Either works fine here. Since the instant yeast is doing most of the rise work, active starter or discard will both give you a great result.
- Poppy seeds instead of sesame? Absolutely. Or a mix of both. Or just flaky salt. Or nothing at all!
- Make ahead. Shape the buns a little earlier into the bulk proof, then refrigerate overnight on the lined pan (if using cling wrap, lightly oil the tops of the buns so they don’t stick). They’ll continue to proof in the fridge. In the morning, egg wash and bake straight from the fridge.
- Storage. Wrapped at room temperature for up to 3 days, or slice and freeze for up to 2 months.


Great recipe I like details instructions. Thank you
you’re so welcome! Glad you liked it 🙂
WOW,Very wonderful
The content is really great
I AM BACK AGAIN
That was amazing
Hi,how are you
Its Amazing