


A simple method to help you bake your first loaf!
Thank you for reading this post, don't forget to subscribe!If you’ve been wanting to try sourdough but felt a bit intimidated, welcome. This is the method I wish I had when I started – straightforward and forgiving, with just enough guidance to help you feel confident.
You can also grab my FREE beginner’s sourdough guide right here. It is more in depth, and it’ll walk you through creating a starter, starter care, baking rhythms and beginner recipes, and everything I had to learn the hard way.
This post contains affiliate links. I may earn a small commission if you make a purchase, at no extra cost to you.
A Quick Note Before We Begin
I taught myself how to make sourdough back in January 2022. I created my own starter and spent weeks trying to figure it all out. My first loaf took a month to get right. I remember mixing together bits of different tutorials, trying to make sense of it all, and finally landing on a method that worked.
This is the one I still use when teaching beginners in my workshops. It’s not fancy, but it makes really good bread… and that’s the goal!
The goal isn’t to make perfect bread. The goal is to make GOOD bread
What You’ll Need
Gear I Use:
- Kitchen scale (accurate and budget-friendly)
- Dutch oven (mine’s 5 quarts and has held up beautifully)
- Parchment paper
- Sharp knife or lame
- Mixing bowl
- Dampened tea towel
- Proofing basket or just a mixing bowl with a curved bottom
I keep my favorite tools and pantry staples in this storefront if you want to peek!
Ingredients
- 50g active sourdough starter
- 350g warm water
- 500g bread flour (or high-protein all-purpose)
- 10g sea salt
If you don’t have a scale yet, this one is a great place to start.
Step-by-Step Method
Feed Your Starter
In the morning, discard most of your starter and feed what’s left with equal parts flour and water (I do 50g of each). Let it sit until it’s doubled in size and nice and bubbly. If it’s ready before you are, pop it in the fridge.
Need a starter? This dehydrated one is easy to bring to life.
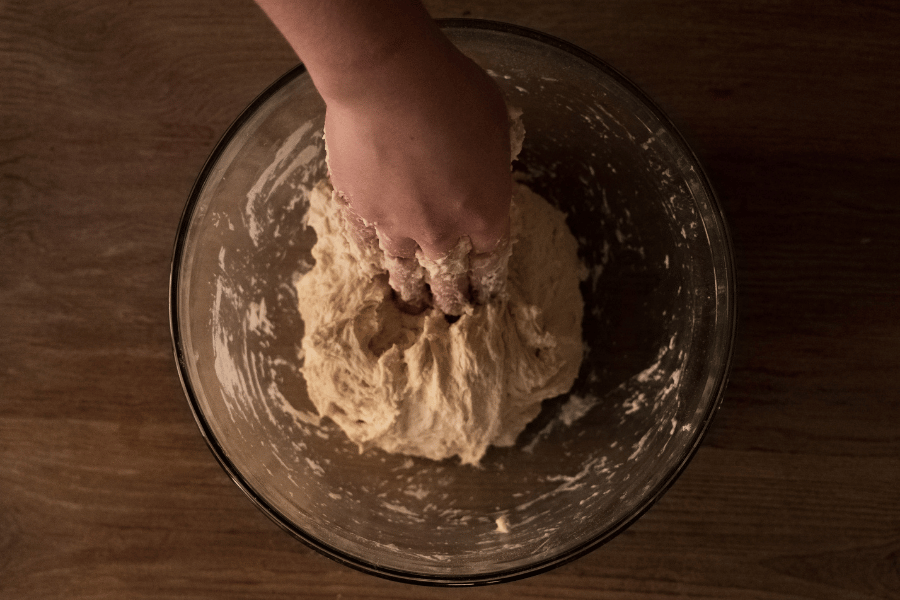
Mix the Dough (Evening)
Whisk the starter and warm water together in a large bowl. Add the flour and salt. Mix until no dry bits remain. The dough will be sticky and shaggy and that is totally normal. Cover the bowl with a damp towel and let it rest for about 30 minutes.
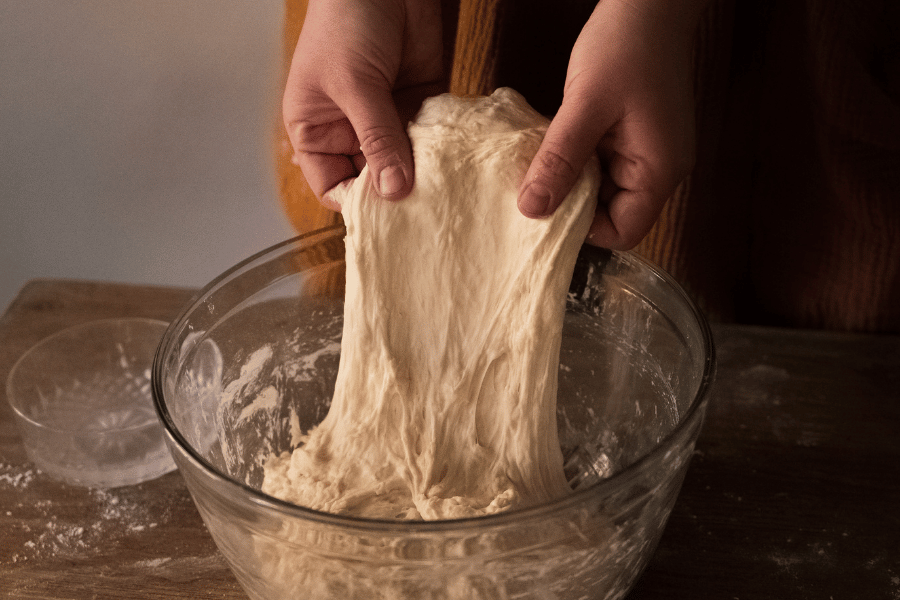
Stretch & Fold
After the dough has rested, gently stretch one side up and fold it over. Rotate the bowl and repeat until you’ve gone around. Wait 30 minutes, then do it again. Once more after that. That’s it.
If your time is tight, you can shorten the rest time between folds to about 20 minutes.
Bulk Ferment (Overnight)
Cover your dough and let it rise overnight at room temp. You’re looking for a soft, puffed dough that’s risen by about half; more airy than dense, but not overinflated. This usually takes 8–10 hours, depending on the warmth of your kitchen.
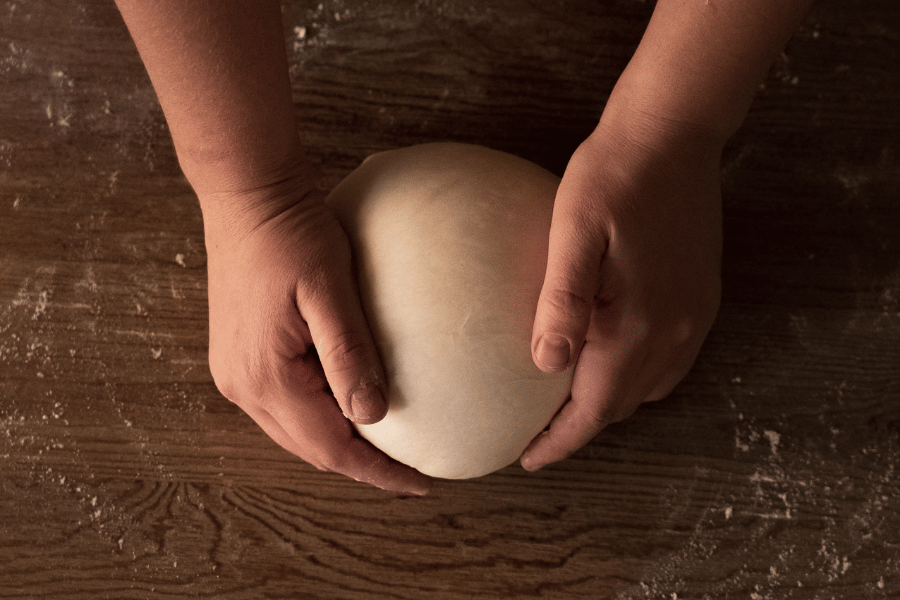
Pre-Shape (Morning)
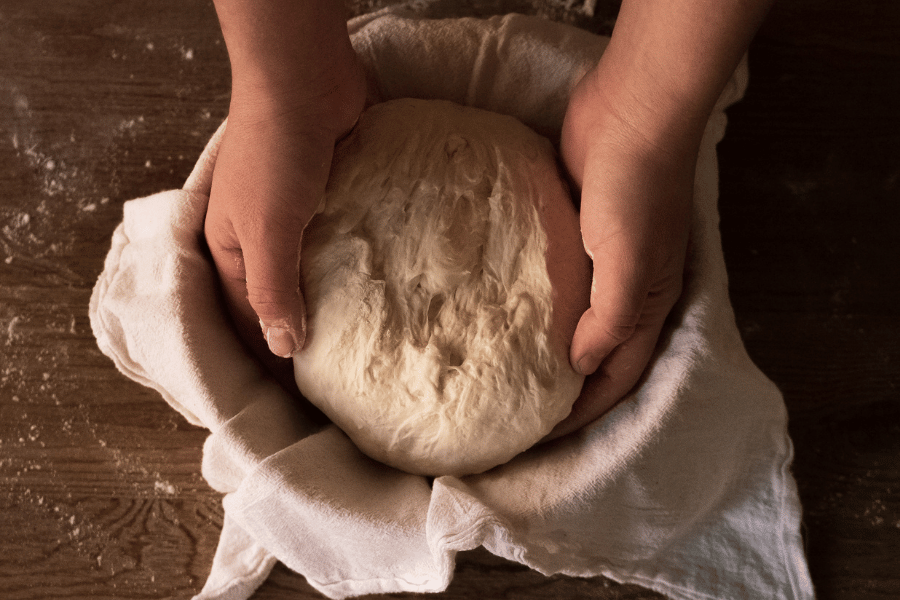
In the morning, gently coax the dough onto a lightly floured work surface. To shape it into a round, start at the top and fold the dough over toward the center. Turn the dough slightly and fold over the next section of dough. Repeat until you’ve come full circle. Flip the dough over and let it rest for 20-30 minutes. In the meantime, line your proofing basket or a mixing bowl with a towel and dust it with flour.
Final Shaping
With floured hands, flip the dough over and shape it again. After shaping, gently cup it and pull it toward you in a circular motion to tighten its shape. Using a bench scraper, place the dough into the bowl, seam side up.
Second Rise
Let it rest for about an hour, until it looks soft and slightly puffed. You can also pop it in the fridge for a cold proof. This makes scoring easier and gives you flexibility. It can rest in the fridge for up to two days before baking.
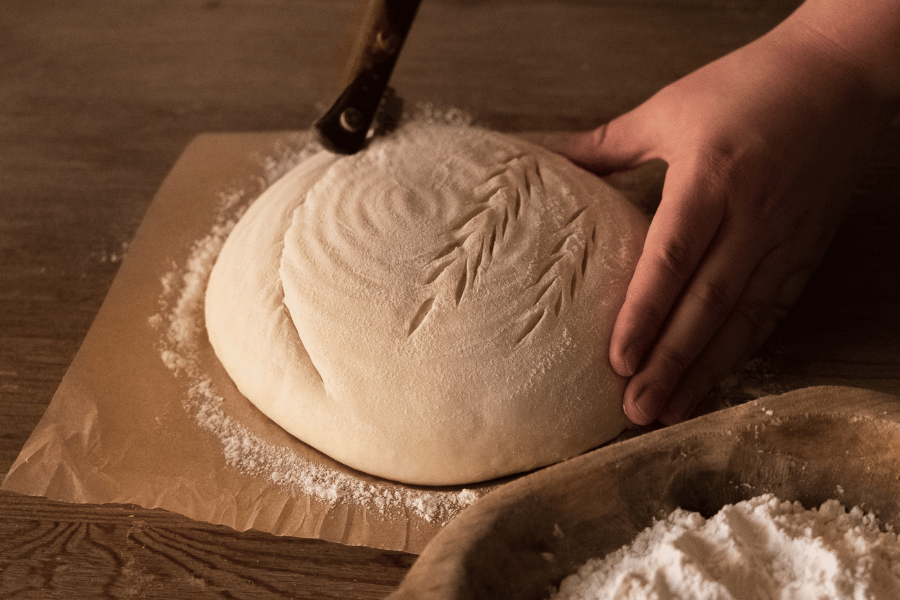
Score & Bake
Preheat your oven to 450°F with the Dutch oven inside. Cut a piece of parchment to fit and gently invert the dough onto it. Dust the top of your loaf with flour and, using the tip of a small, serrated knife or a razor blade, score the dough with a cross-cut or a pattern of your choice. If you’re looking for inspiration, Pinterest has some great scoring tutorials!
Place it in the hot Dutch oven and bake:
- 20 minutes covered
- 25–30 minutes uncovered
Transfer to a wire rack and let it cool for at least an hour. I know it’s hard to wait, but it’s worth it!
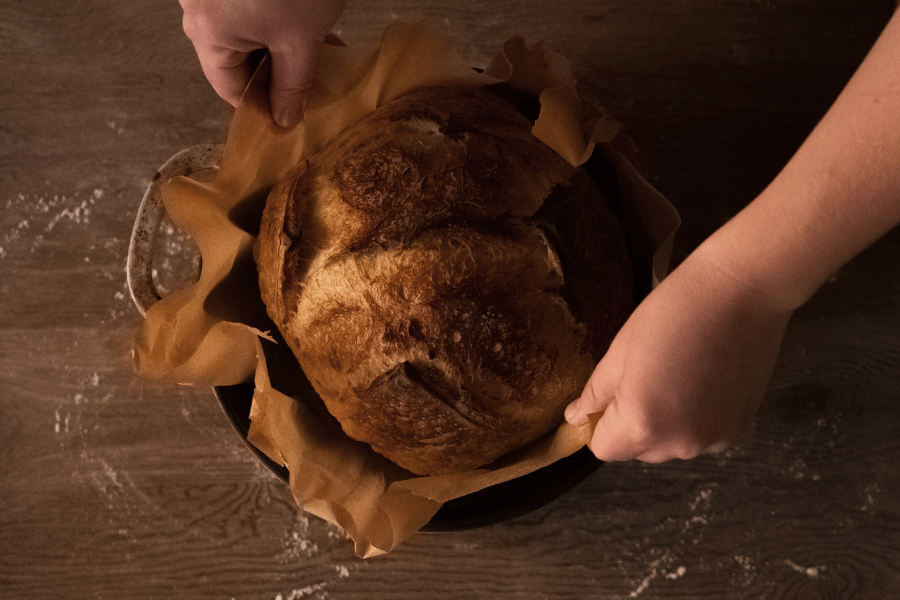
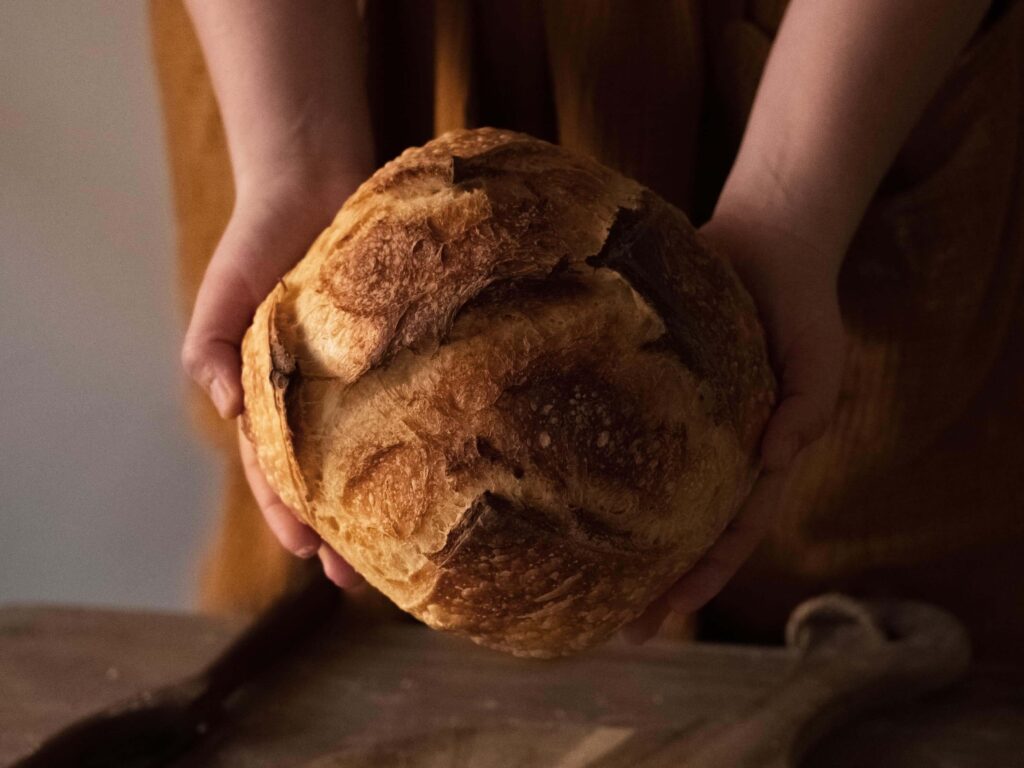
That’s It!
You’ve baked your first sourdough loaf! Don’t worry if it’s not absolutely perfect – remember, we are baking GOOD, homemade bread. Keep practicing!
If you try this, I’d love to hear how it went! drop a comment below or tag me on Instagram @sarahdoessourdough.
And if you haven’t already, you can grab my free ebook Sourdough for Beginners. It’s full of helpful tips and timelines to make your next loaf even easier.
Happy baking!
Sarah Grunewald


