


Early on in my cottage bakery journey, I knew I wanted to offer a hearty loaf to my customers. I’d watch bakers in England and Germany making these beautiful seed-coated loaves, often half whole wheat, and I couldn’t stop thinking about how real and nourishing they looked. I started experimenting with freshly milled grains and found that 40% organic spelt was the sweet spot. It added a rich, nutty depth without making the bread too heavy or too savory.
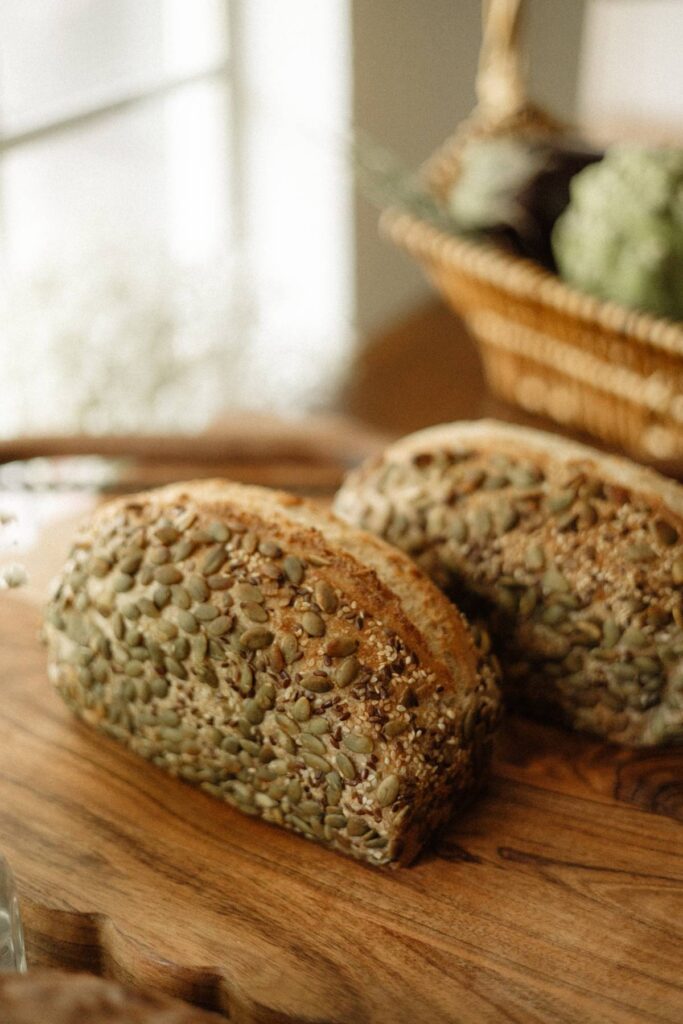
Thank you for reading this post, don't forget to subscribe!This ancient grain sourdough bread has become one of the most popular loaves at my cottage bakery, and for good reason. The crumb is soft and moist, the crust is rustic and flavorful, and it’s versatile enough for sandwiches, toast, or even rolls. If you love my Sourdough Soft Sandwich Bread, think of this as its wholesome older sibling.
If you’re brand new to sourdough, grab my free beginner’s ebook first so you have a happy, active starter ready to go. And if you want to see the dough in action, watch the video tutorial where I mix, stretch, and fold this dough step by step.
This post contains affiliate links. If you purchase through them, I may earn a small commission at no extra cost to you. Thank you for supporting my little bakery!
A Quick Note Before We Begin
A few things worth knowing before you mix:
- You don’t need a grain mill. I use freshly milled spelt flour because I love the flavor, but any store-bought spelt or whole wheat flour will work beautifully here.
- Whole wheat ferments faster. The bran and germ speed things up, so keep an eye on your dough during bulk fermentation rather than watching the clock.
- Expect a slightly stickier dough. Whole grains absorb more water, so the dough may feel a little wetter than my Original Cottage Bakery Sourdough. That’s perfectly normal… a wet hand and a bench scraper are your friends.
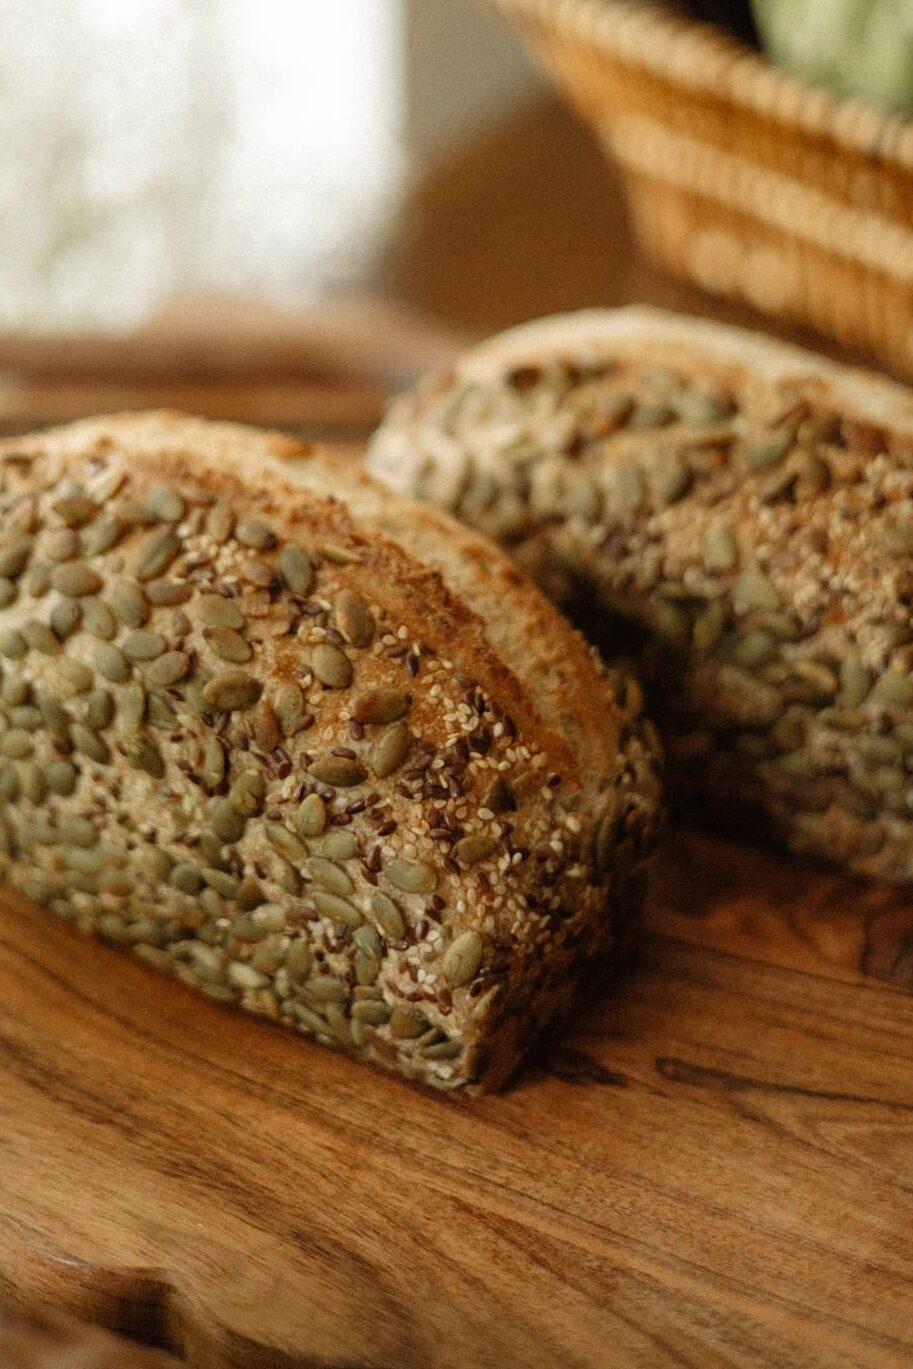
- The seed coating is flexible. I use sesame, flax, sunflower, and pumpkin, but use whatever blend you love or have in the pantry.
What You’ll Need
- 2 Loaf Pans (the second one becomes your steam chamber lid!)
- Basic Kitchen Scale
- Bulk Baking Kitchen Scale if you’re baking in bulk, this one has a 30kg/66lb capacity
- Large Mixing Bowl
- Grain Mill use code SARAH for $20 off
- Food Thermometer to make sure your bread is fully baked through
- Wire Cooling Rack
The Cottage Bakery Size
This part is totally optional, but for my cottage bakery, I wanted a smaller loaf for this one (just to give it some more character). So if you’d like to bake the same size I sell to my customers, this is the recipe scaled down to fit a 3/4 lb loaf pan (8″ x 4″ x 2 1/2″):
- 78 grams bubbly, active sourdough starter
- 283 grams warm filtered water
- 140 grams spelt flour
- 232 grams bread flour
- 15 grams honey
- 8 grams fine sea salt
The method stays exactly the same. Since the loaf is smaller, start checking it a little earlier in the bake and trust your thermometer… you’re still looking for an internal temperature of 200 to 205°F (93 to 96°C).
Ancient Grain and Seed Sandwich Loaf
Ingredients
- 50 grams bubbly, active sourdough starter (100% hydration) optional: use 100g for faster proofing time
- 365 grams warm filtered water
- 180 grams spelt flour
- 300 grams bread flour
- 20 grams honey
- 10 grams fine sea salt
- Mixed seeds for rolling (I use sesame, flax, sunflower, and pumpkin)
Equipment
- Bulk Baking Kitchen Scale for bulk baking – this one has a 30kg/66lb capacity
- Grain Mill code SARAH for $20 off
- Food Thermometer to help ensure bread is fully baked through
Method
- Mix. Combine your starter, water, flours, salt and honey. Mix by hand until no dry bits remain and let rest for 30 minutes.
- Stretch and Folds. Wet your hand to prevent sticking, gently grab one side of the dough, stretch it upward, then fold it over to the opposite side.Turn the bowl a quarter turn and repeat the motion. Continue until you’ve stretched and folded from all four sides.That’s one set. Cover the bowl and let the dough rest for 30 minutes before repeating.You’ll do this three times total, 30 minutes apart. Each set helps the dough become smoother, stronger, and more elastic. By the end, it should hold its shape better and feel lighter and puffier to the touch.
- Bulk Fermentation. Let the dough rest for the remainder of bulk fermentation, until it has roughly doubled in size (about 5hrs).
- Pre-shape and Rest. Turn out the dough and gently pre-shape it into a round or oval. Rest uncovered for 20–30 minutes.
- Final Shape & Coating. Dampen a clean tea towel, and place it on the countertop next to you. Shape the dough into a sandwich loaf (see shaping technique in the video), then roll onto the damp tea towel, and roll in a mix of seeds. If the seeds still aren't sticking, lightly mist the surface of your dough with water and then roll in the seeds.Optional: shape into a batard and bake in a dutch oven for a boule shape.
- Proof. Place into a loaf tin, seam side down. Cover and cold-proof in the fridge overnight (8–12 hours). Although I highly recommend the overnight cold proof for deeper flavor, if you do want to skip it, you can just proof on the counter for 1-2 hours before baking.
- Bake. Preheat the oven to 430°F (220°C).If baking in a loaf pan, lightly spritz the top of the dough with water, then place a second loaf pan upside down on top to create a little steam chamber. This helps your bread rise beautifully and develop a soft, open crumb, similar to baking in a Dutch oven.Bake for 20 minutes, then remove the top pan and continue baking for another 20 minutes, or until the internal temperature reaches 200–205°F (93–96°C). If the seeds start to brown too quickly, tent the loaf with a piece of foil for the last 5–10 minutes.For a boule or Dutch oven, bake covered for 20 minutes, then uncover and bake for another 25–30 minutes, until golden brown and internal temp reaches 200–205°F (93–96°C).Let cool for 1 hour before slicing. Enjoy!
Notes
- Cottage bakery size. For a smaller loaf in a 3/4 lb pan (8″ x 4″ x 2 1/2″), use 78g starter, 283g water, 140g spelt, 232g all-purpose flour, 15g honey, and 8g salt. Same method, just start checking the bake a little earlier.
- Ferments faster. Whole wheat dough proofs more quickly than white flour dough, so keep an eye on it during bulk fermentation.
- Needs more water. The bran and germ absorb more hydration, so your dough might feel a little stickier than usual. That’s perfectly normal.
- Handle gently. A wetter dough can be trickier to shape. Use a light touch and a bench scraper to help guide it along.
- Bake a little longer. Whole wheat loaves sometimes need a few extra minutes in the oven. Look for a deep golden crust and a hollow sound when tapped on the bottom, or use a thermometer to confirm 200 to 205°F (93 to 96°C).


